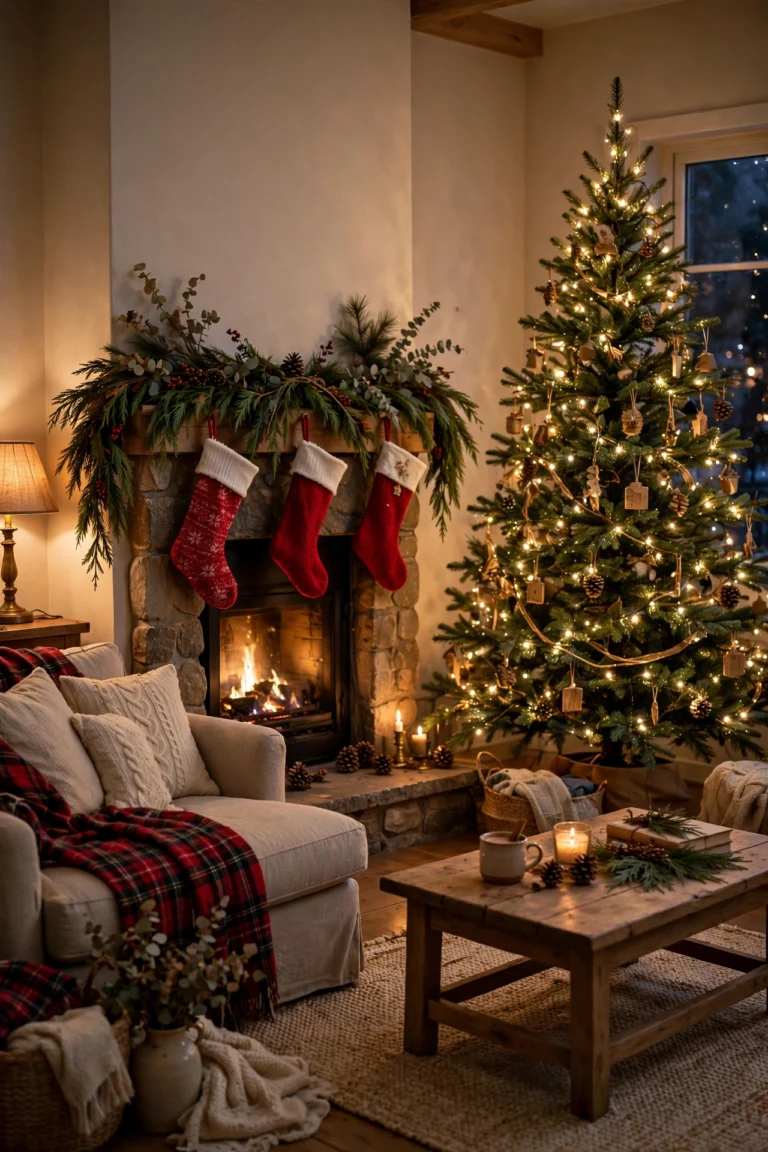
14 Christmas Tree Ribbon Ideas (Velvet & Silk)
There is a reason every designer-styled tree you save on Pinterest has one thing in common, and it is not the ornaments. If you have been hunting for christmas tree ribbon ideas that look genuinely professional, here is the truth: ribbon is not the finishing touch, it is the structure of the whole tree. A few yards of velvet or silk ribbon, cut into strips and worked into the branches the right way, can make even a modest tree look full and layered. Below are 14 christmas tree ribbon ideas covering every style, from cascading velvet waterfalls to rustic burlap wraps.

Read This Before You Ribbon Your Tree
Buy wired ribbon, not the flat kind. The thin wire hidden in the edges is what lets you shape full billows and crisp bows that hold their form all season, and it is what makes the ribbon reusable year after year. Flat ribbon looks fine in the package and collapses into limp strips within a day on the tree. One spool of wired velvet or silk ribbon costs a little more and decorates trees for many Decembers.
Width matters more than color. Wide ribbon, about 2.5 to 4 inches, creates the dramatic cascades and waterfall effects you see in designer photos. A 1.5-inch ribbon is the workhorse for weaving and small trees. Pick one main width per tree, because mixing several widths makes the ribbon fight itself instead of flowing together. As for how much to buy, Balsam Hill recommends at least 27 yards of ribbon for a 9 to 10 foot tree, so scale that down a little for smaller trees and buy extra if you are layering two ribbons.
Work with short strips, not one endless roll. Cut your ribbon into pieces roughly 18 to 24 inches long, secure each one to the tree with floral wire or a pipe cleaner, and tuck it into the branches with a gentle twist. Short strips give you control over direction and spacing, they waste less ribbon, and stepping back to check your work after every few strips is how you end up with an even, professional look. For pro technique detail, Balsam Hill’s guide on how to put ribbon on a Christmas tree like a professional walks through the cascade and layering method step by step.
1. The Classic Cascade With Wide Wired Ribbon
Of all the christmas tree ribbon ideas, this is the one that started the designer-tree obsession, and it is still the fastest way to make a tree look styled. Starting at the top, cut wide wired ribbon into strips, pinch each one into a soft billow, and tuck it into the branches with a half twist, working down in four to six vertical lines spaced evenly around the tree. Let the ends trail naturally and trim them into fishtails. The vertical lines of ribbon draw the eye up and down the tree, which makes the whole thing look taller and more deliberate, and the billows fill the gaps between ornaments so you can actually hang fewer baubles.
2. Vertical Waterfall Panels From the Treetop
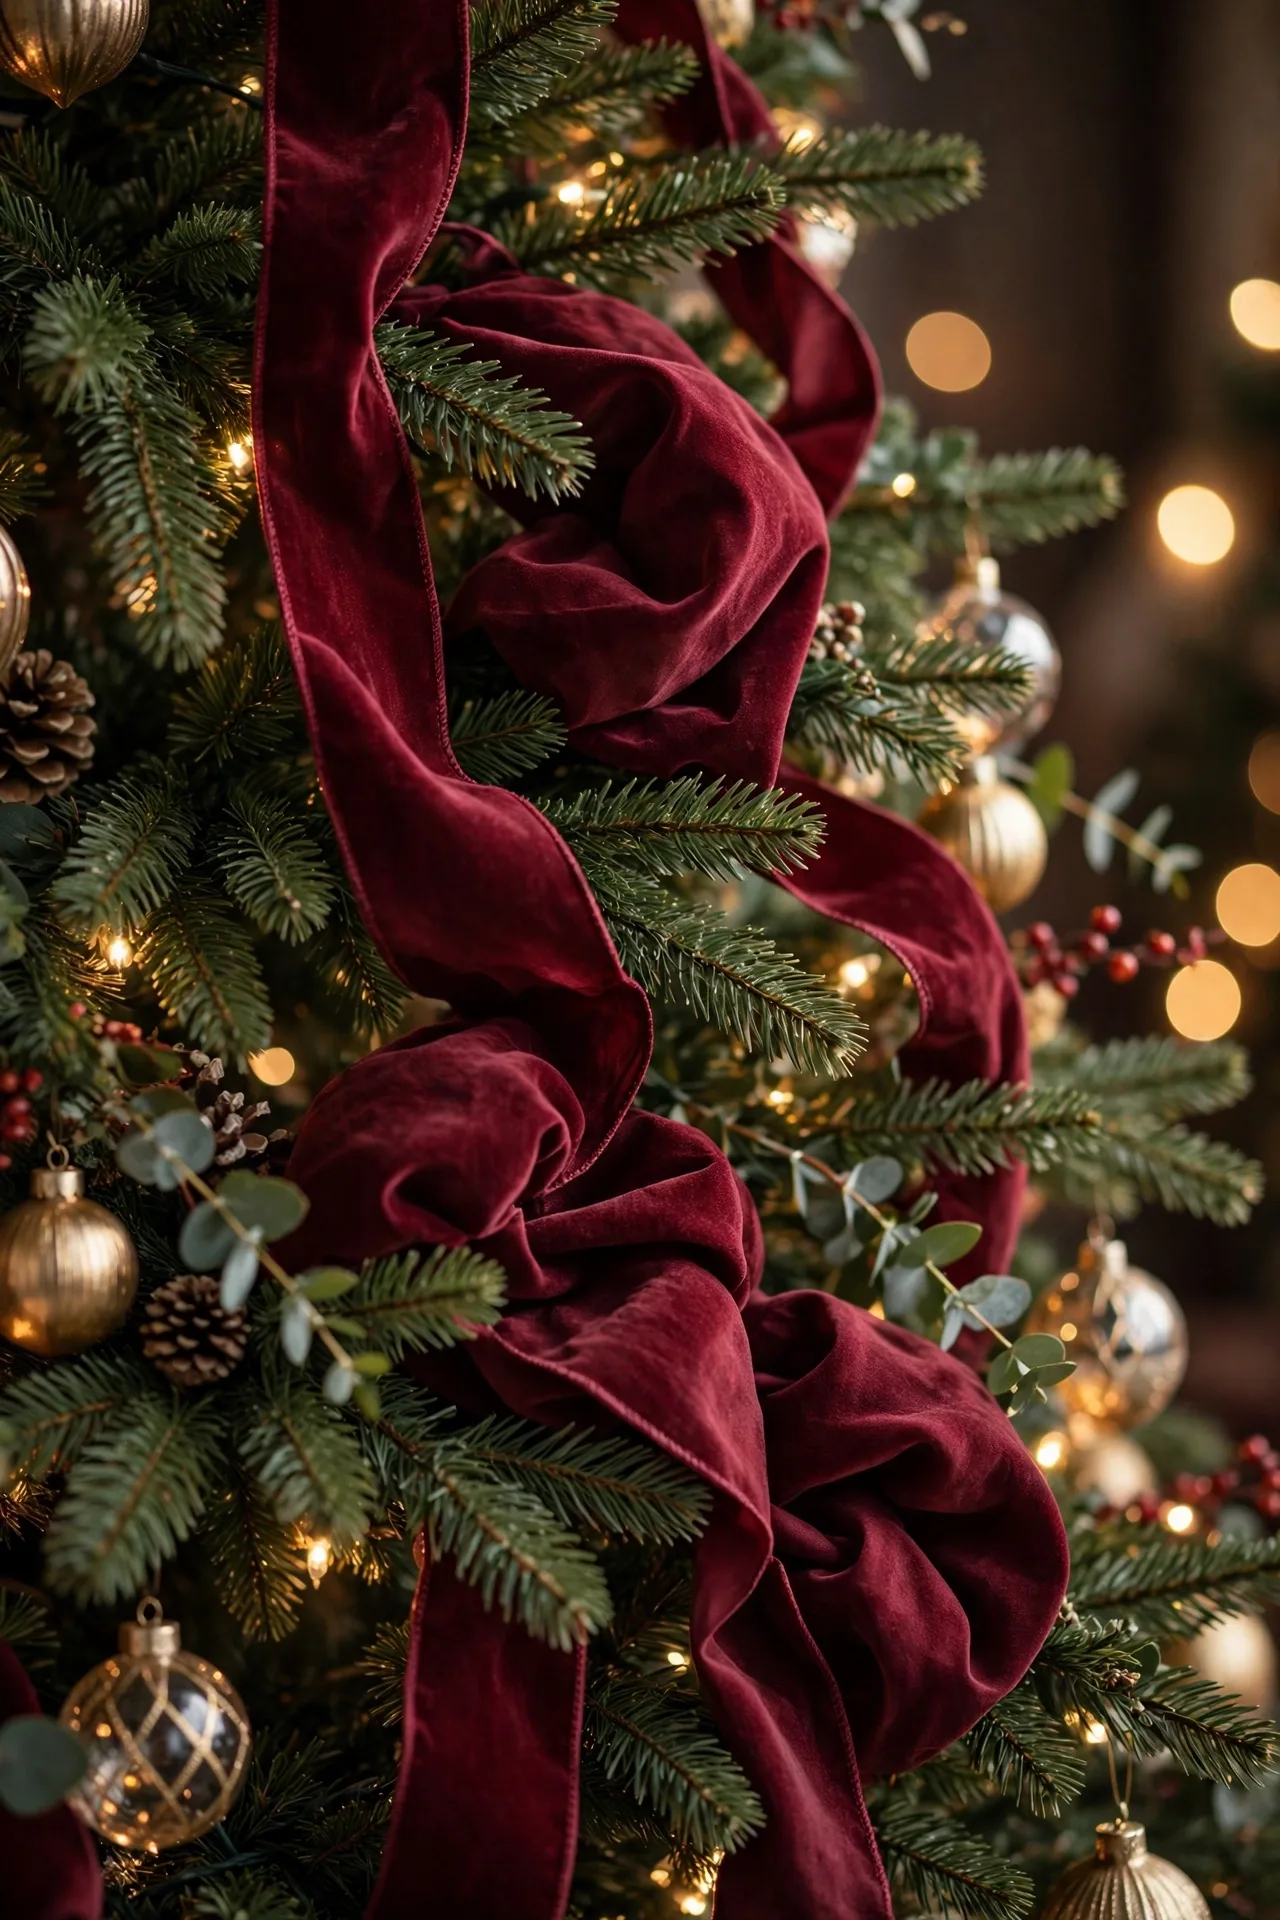
This is the cascade’s softer cousin and it photographs beautifully. Instead of evenly spaced strips, shape three or four large billows at the very top of the tree, anchor them near the topper, and let the ribbon weave in and out of the foliage all the way to the base. The trick is to twist the ribbon every 12 to 18 inches as it descends so it reads as one continuous waterfall rather than separate strips. Use a silk or satin ribbon here instead of velvet, because the sheen catches the tree lights and makes the waterfall glow. If you love the full, layered living room looks in these cozy Christmas living room decor ideas, this waterfall ribbon style is the tree that belongs in them.

3. The Horizontal Spiral Weave
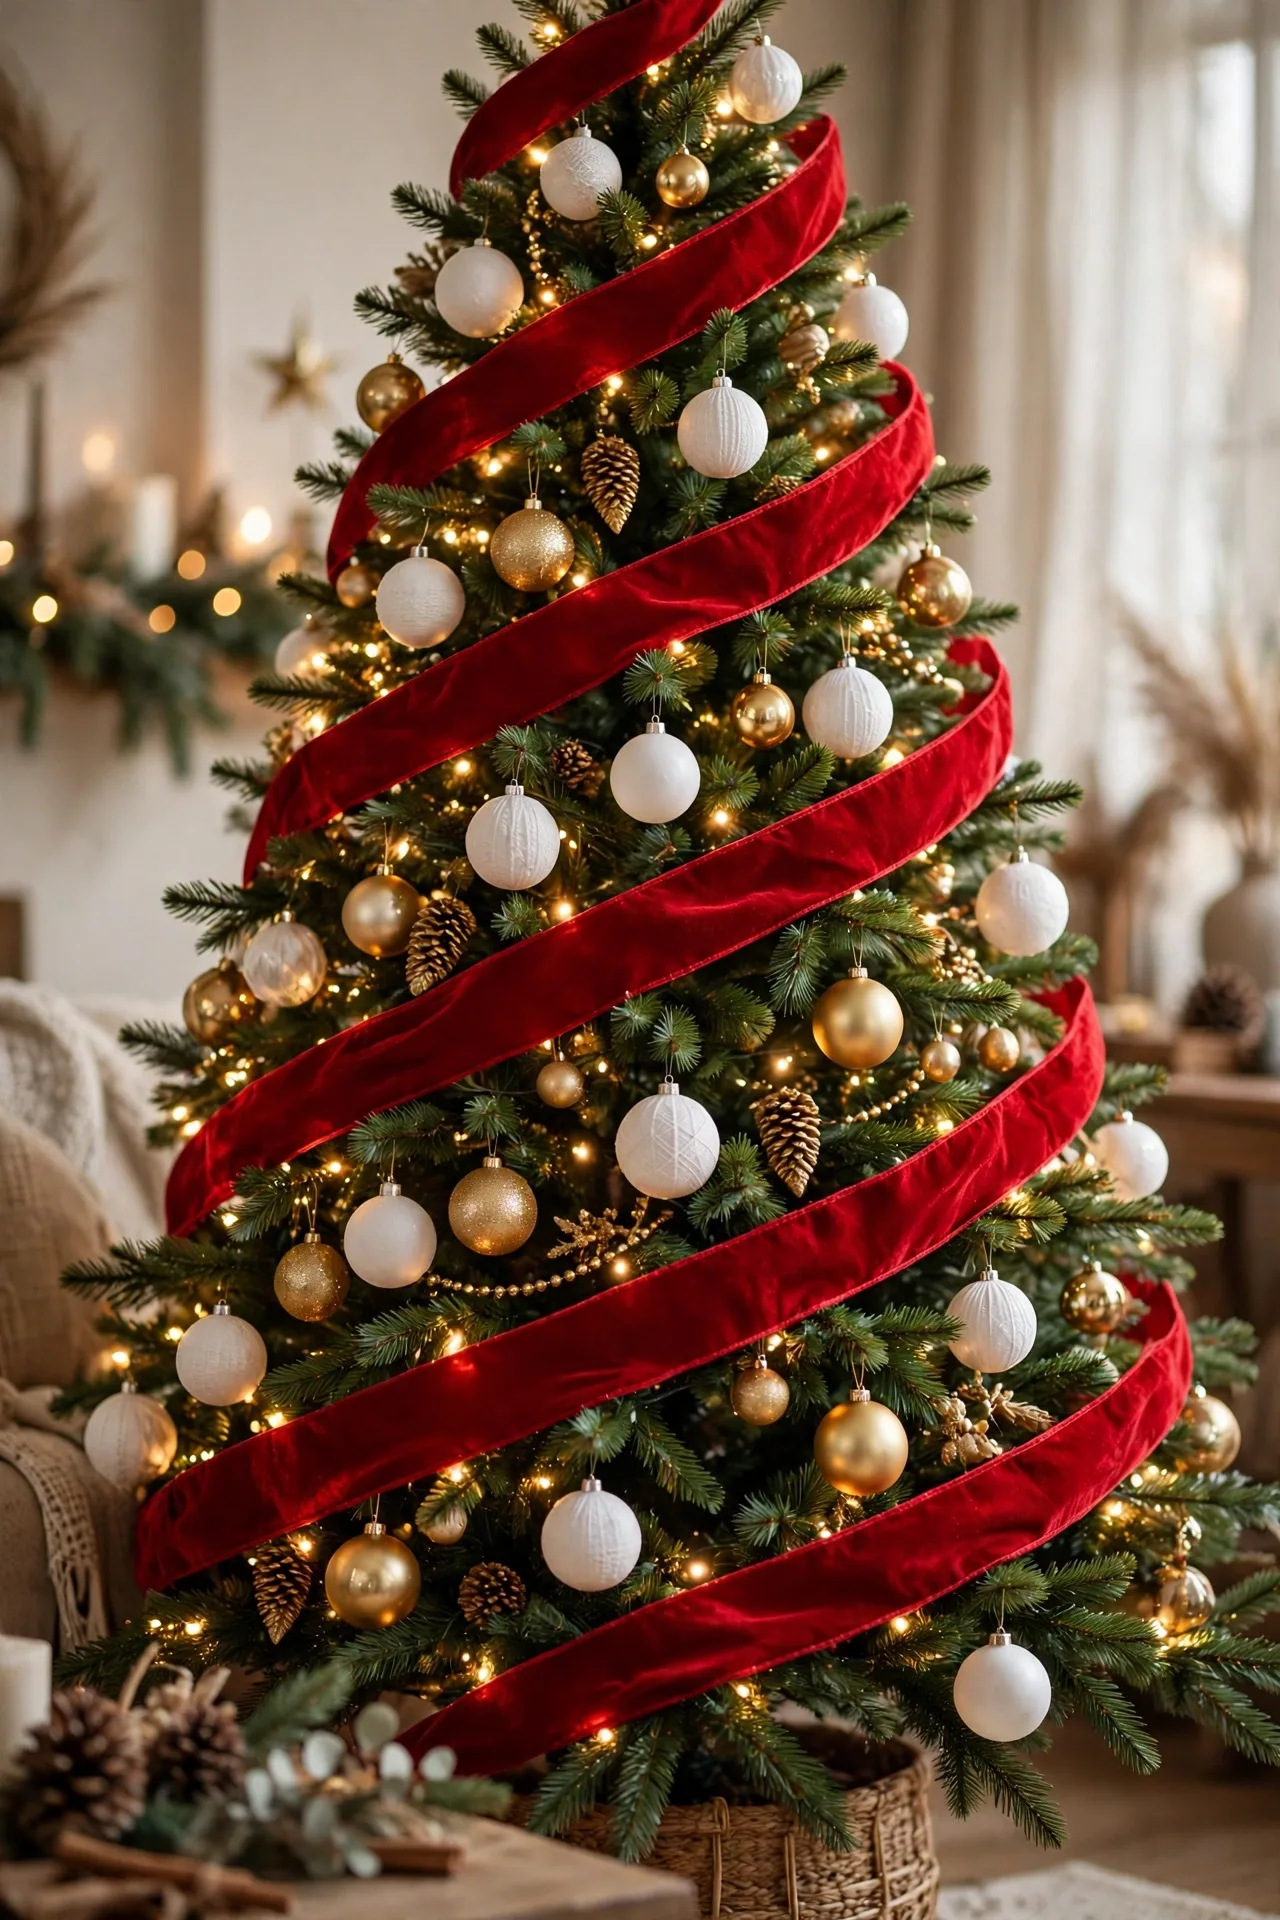
If vertical cascades feel too formal for you, try the spiral. Starting at the top, loop one long piece of wired ribbon around the tree in a gentle downward spiral, tucking it deep into the branches every foot or so and letting it billow out between tucks. Keep the spiral spacing even by stepping back every couple of rounds, because this is the technique that goes lopsided fastest. The spiral weave suits traditional red-and-green trees beautifully, and it is one of the easiest christmas tree ribbon ideas for beginners, since the tree’s own conical shape does most of the styling work for you.

4. A Statement Bow Topper With Long Ribbon Tails
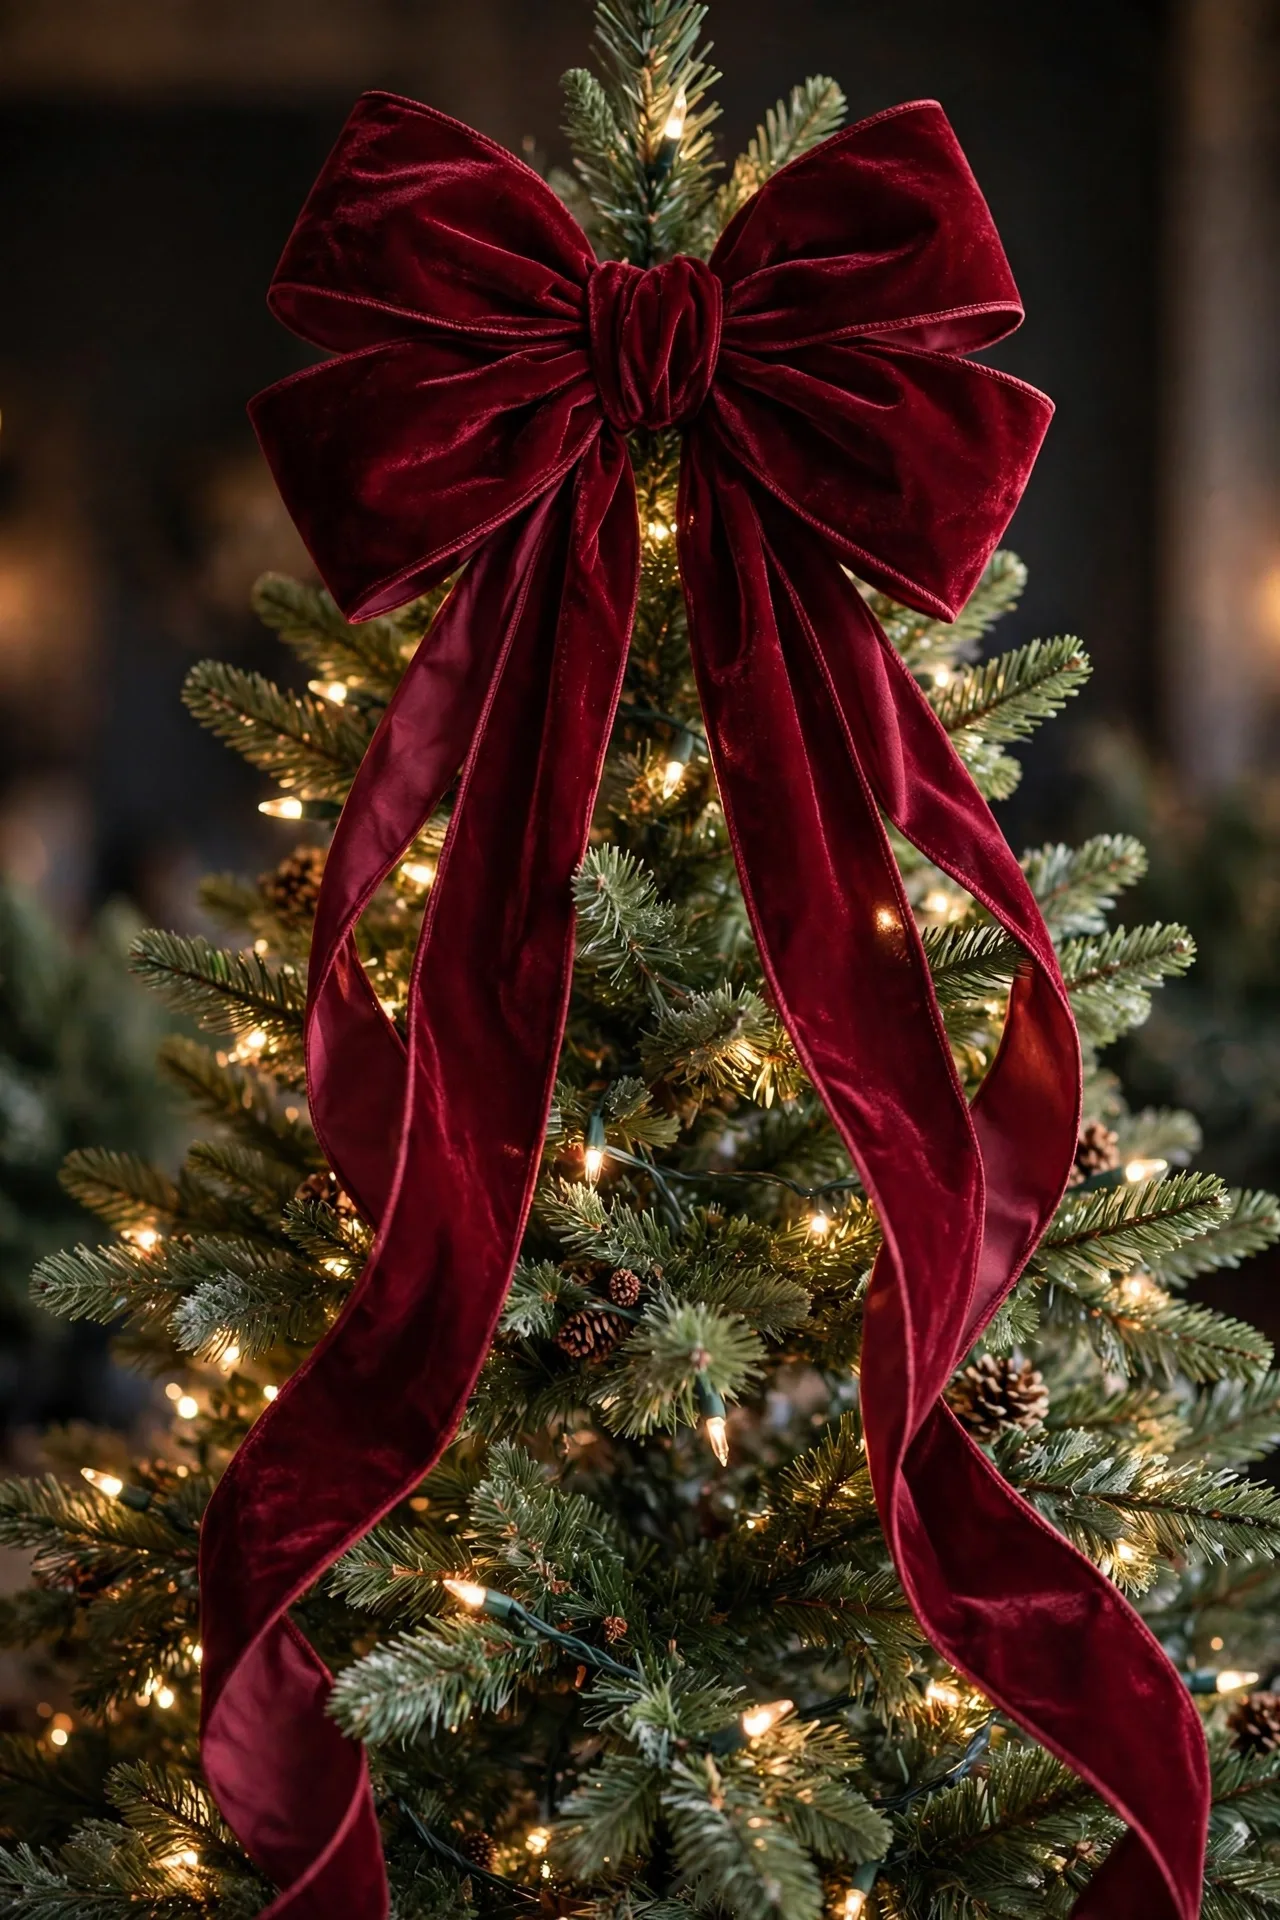
A tree topper made from one enormous wired-ribbon bow looks custom and expensive, and it takes about ten minutes. Build the bow with four to six loops from 4-inch velvet ribbon, leave tails at least two feet long, and secure the whole thing to the top branch with floral wire. Then, instead of letting the tails dangle straight down, tuck them into the upper branches of the tree so they flow into your cascade lines. This connects the topper to the rest of the ribbon work, which is the difference between a tree that looks decorated and one that looks designed. A big bow topper also pulls the whole room together when your mantel carries the same ribbon, like in these Christmas mantel decor ideas.
5. Double Ribbon Layering: Velvet Plus Sheer Silk
Designer trees rarely use one ribbon, and this layering trick explains why. Pair a wide velvet ribbon with a narrower sheer silk ribbon in the same color family, and work the two strips together down the tree as one unit, offset slightly so both textures show. The velvet gives richness and body while the silk adds shimmer and movement, and the combination looks far more expensive than either ribbon alone. Stick to one color family, keep the widths different, and let the two ribbons twist naturally around each other.

6. Swag-and-Drape Ribbon Garland
Instead of running ribbon straight down the tree, create swags. Anchor a length of wired ribbon at one point on the tree, let it drape in a soft U shape to the next anchor point, and repeat around the tree so the ribbon hangs in gentle scallops. Tuck the anchor points deep into the branches so only the swags show, and pinch the center of each swag slightly so it does not look like a clothesline. The swag-and-drape technique gives the tree an old-fashioned, nostalgic feel that suits vintage ornaments perfectly, and it is wonderfully forgiving, because the drape hides uneven spacing that would show in a straight cascade.

7. Diagonal Candy-Stripe Bands
Run your ribbon in angled bands from upper-left to lower-right, repeating the same angle all the way around the tree, and you get the candy-stripe effect that makes trees look taller and slimmer. This is one of the most-pinned christmas tree ribbon ideas because the diagonal lines create movement that a straight spiral cannot match. It works best with a ribbon that has two tones or a stripe pattern itself, which doubles the candy effect, but solid velvet works too. Keep every band at the same angle and the same distance apart, because this look lives or dies on consistency. Step back and sight down the tree after each band to keep the lines parallel.
8. Mesh Ribbon Puff Tucks
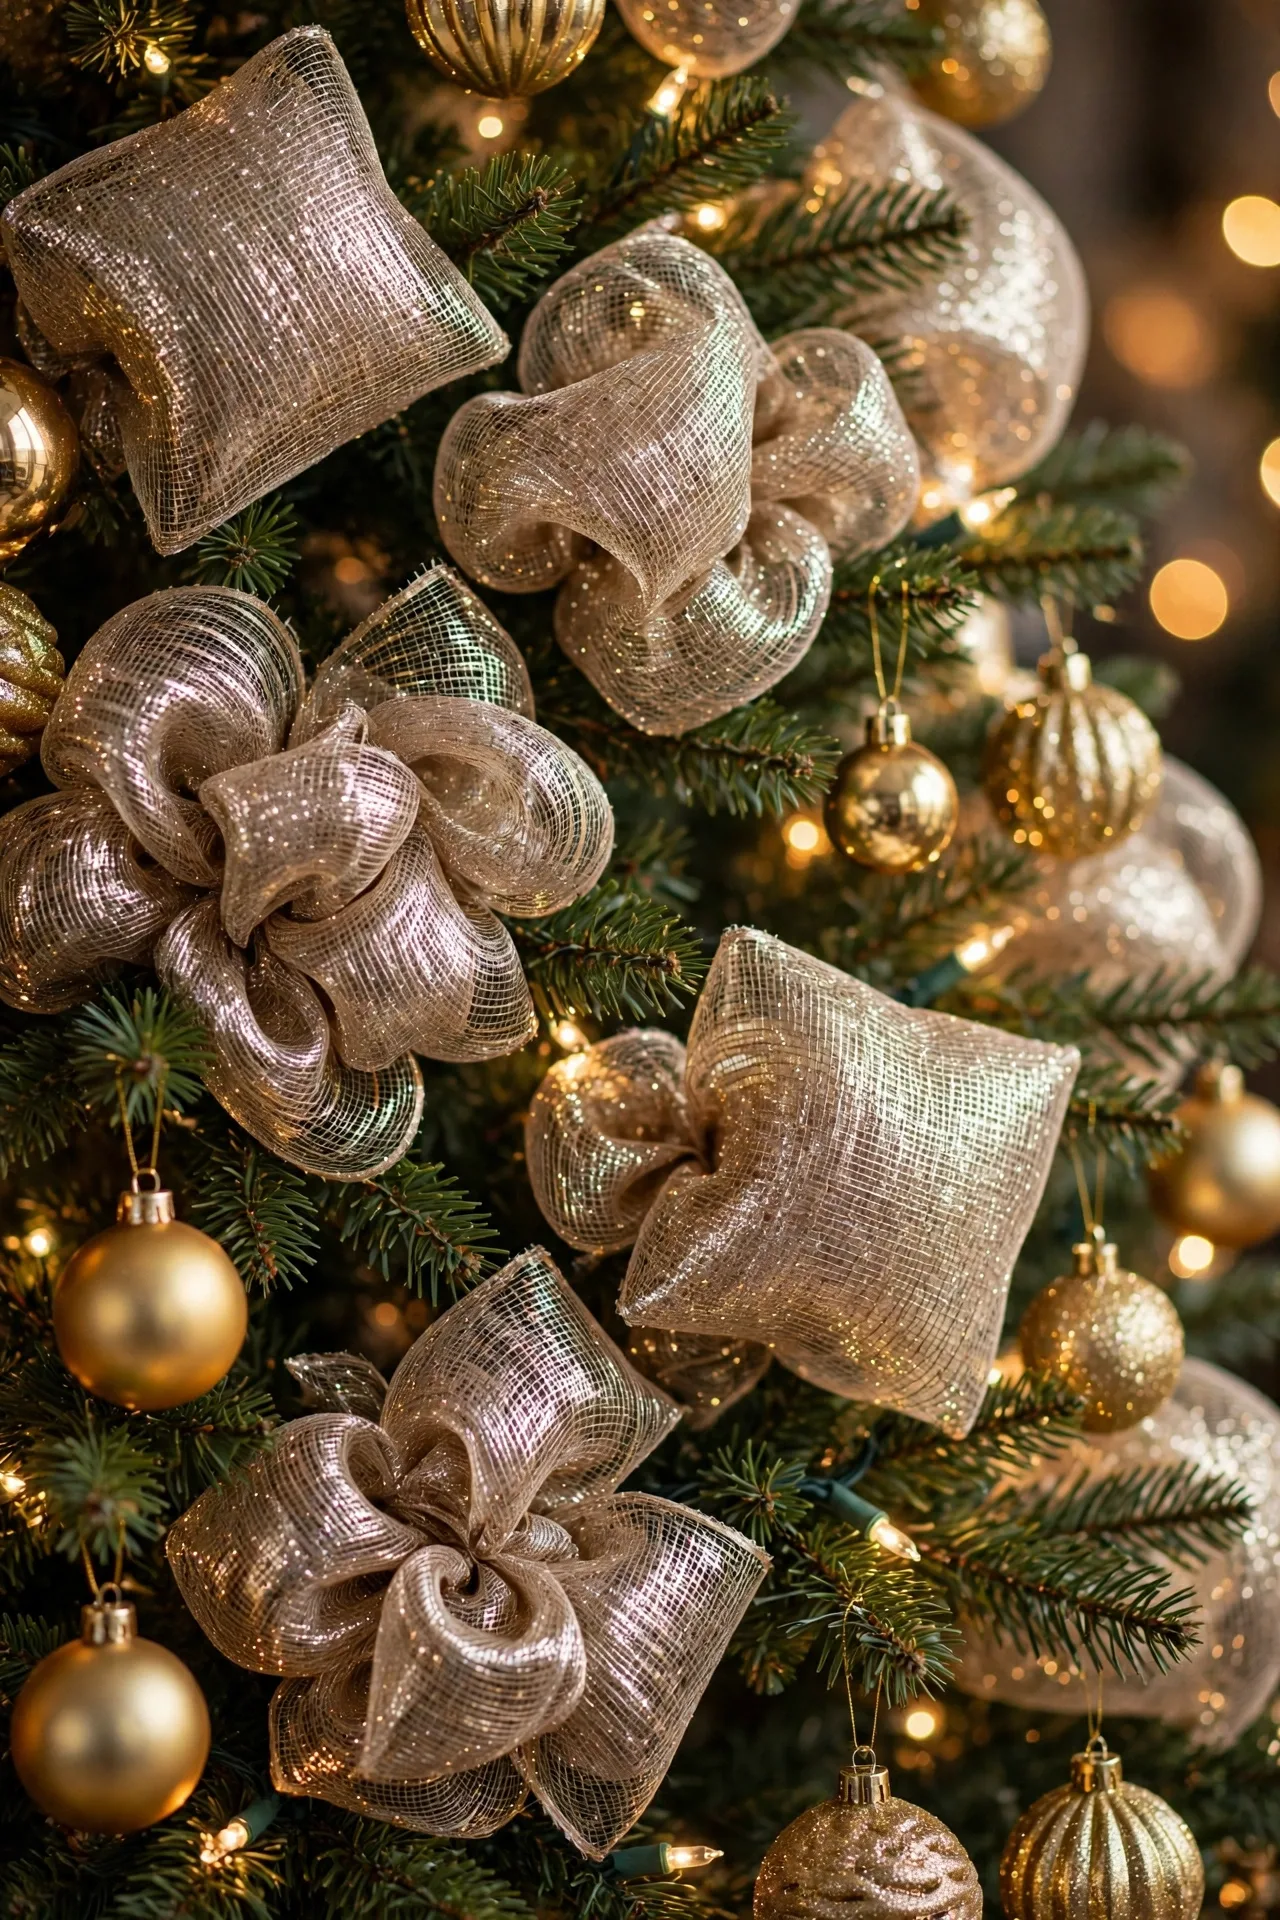
Deco mesh ribbon behaves completely differently from velvet, and it is the secret weapon for trees that need volume. Cut the mesh into 10-inch squares, gather each one in the center like a tiny bow, and tuck the puffed squares into the branches all over the tree. The mesh expands to fill bare spots and adds a sparkly, airy texture that velvet and silk cannot give you. This technique is especially kind to older or thinner trees, because the puffs hide sparse areas without requiring a single new ornament. Use mesh in a metallic champagne or gold tone and keep it to one color so the tree looks luminous rather than busy.
9. Rustic Burlap Ribbon Wraps
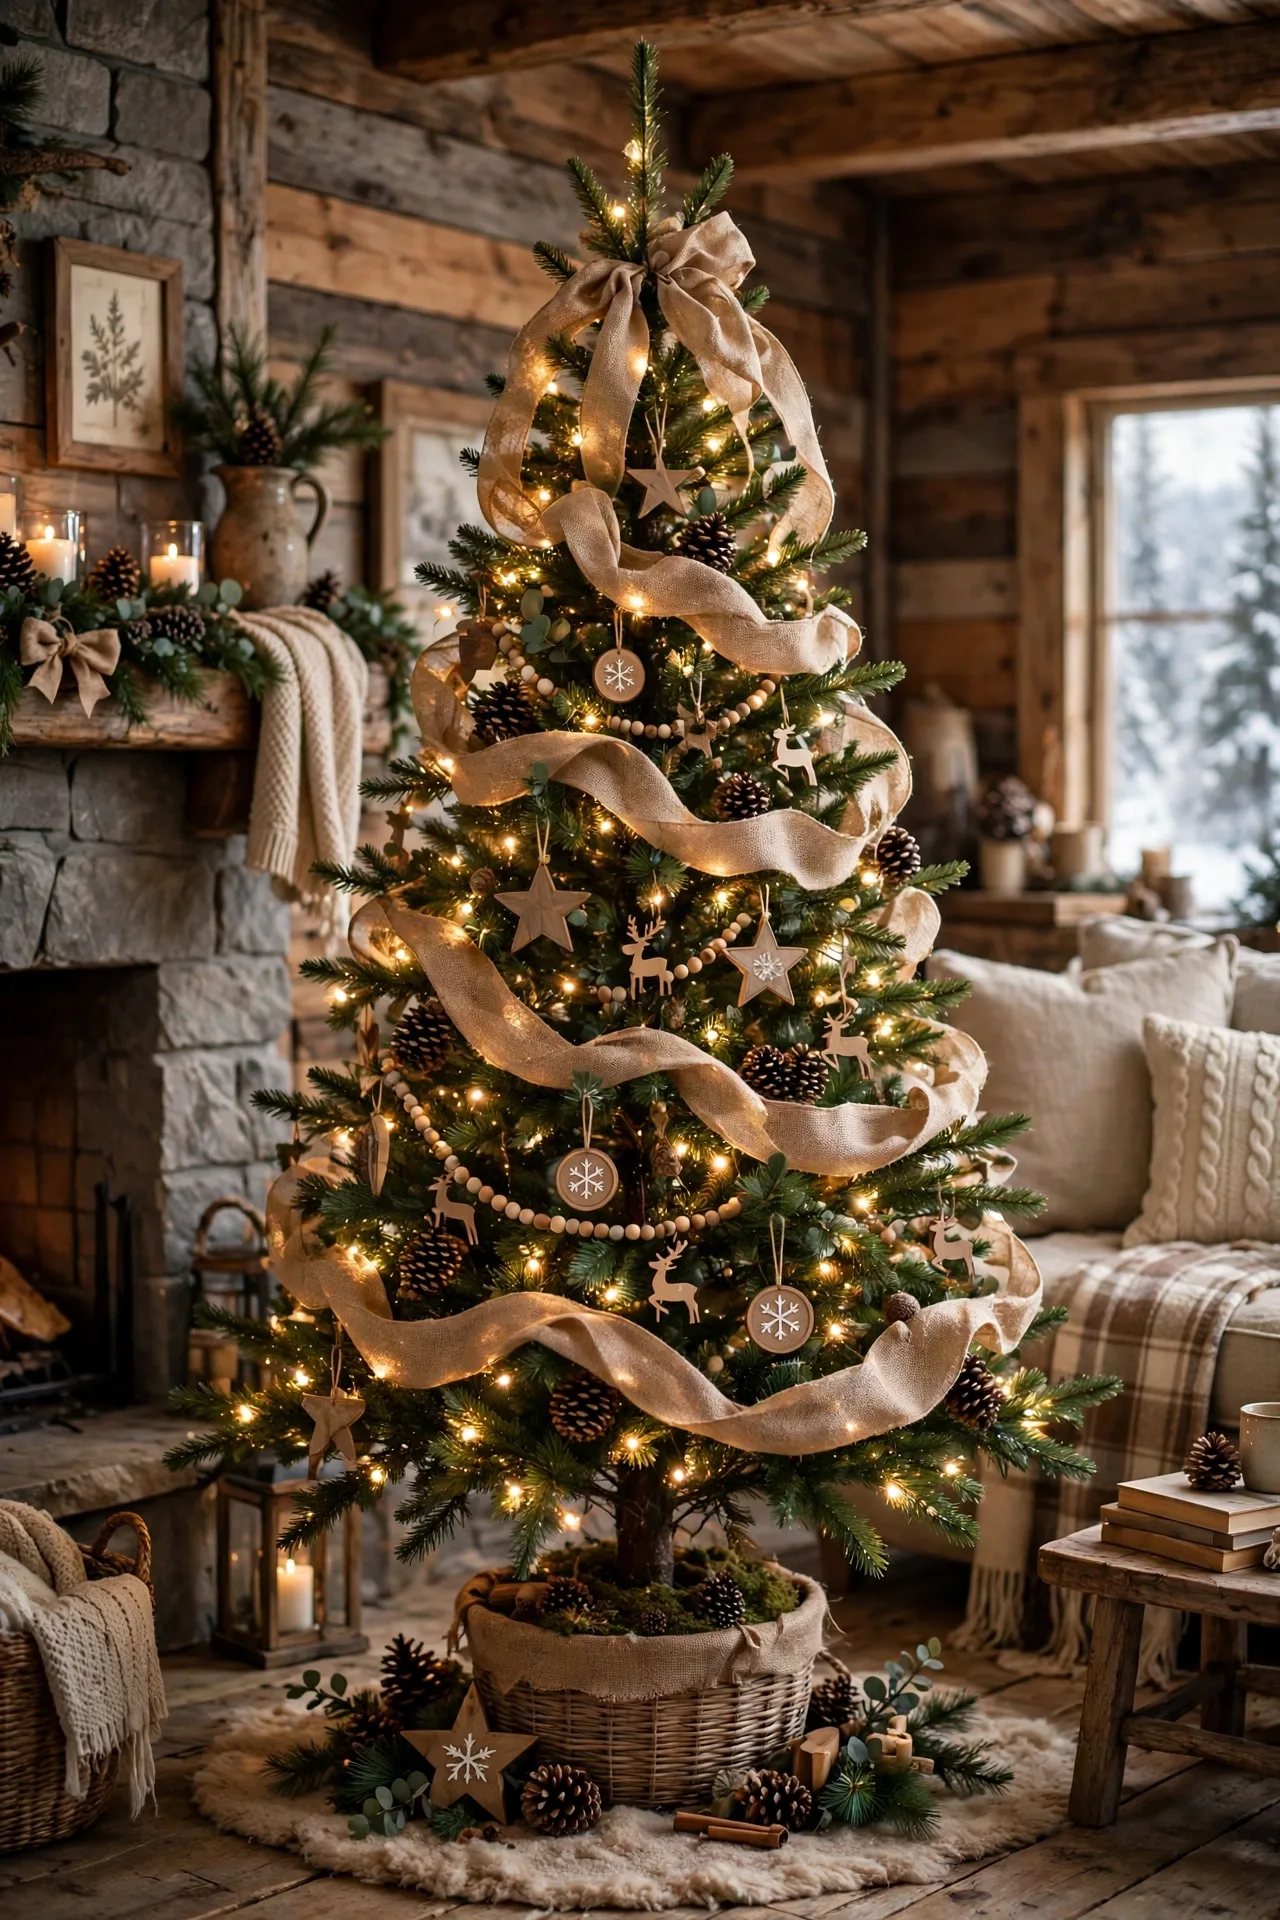
Burlap ribbon is the natural choice for farmhouse, cabin, and woodland trees, and it asks for a looser hand than velvet. Let the burlap run in relaxed, slightly uneven waves rather than crisp cascades, because burlap’s charm is its handmade look. Pair it with pinecones, wooden ornaments, and warm white lights, and tuck small sprigs of greenery into the burlap folds for a freshly-gathered feel. Burlap frays at the cut ends, so either embrace the fringe as part of the rustic look or fold the ends under and secure them with floral wire. For the full woodland scene around a burlap-wrapped tree, these budget Christmas decor ideas that look expensive stretch one spool of ribbon across the whole room.
10. Buffalo Check Plaid Ribbon
Classic red-and-black buffalo check ribbon is practically a Christmas tree in ribbon form. It works in wide cascades, spirals, and bows, and it instantly gives any tree a cozy lodge feeling without any other styling. The pattern is busy on its own, so keep the rest of the tree simple: solid ornaments in red, black, white, or natural wood, and skip any other patterned elements. Buffalo check also photographs wonderfully for Pinterest because the bold pattern reads clearly even in a thumbnail, which is half the battle on a visual platform.

11. Metallic Gold Ribbon for Glam Trees
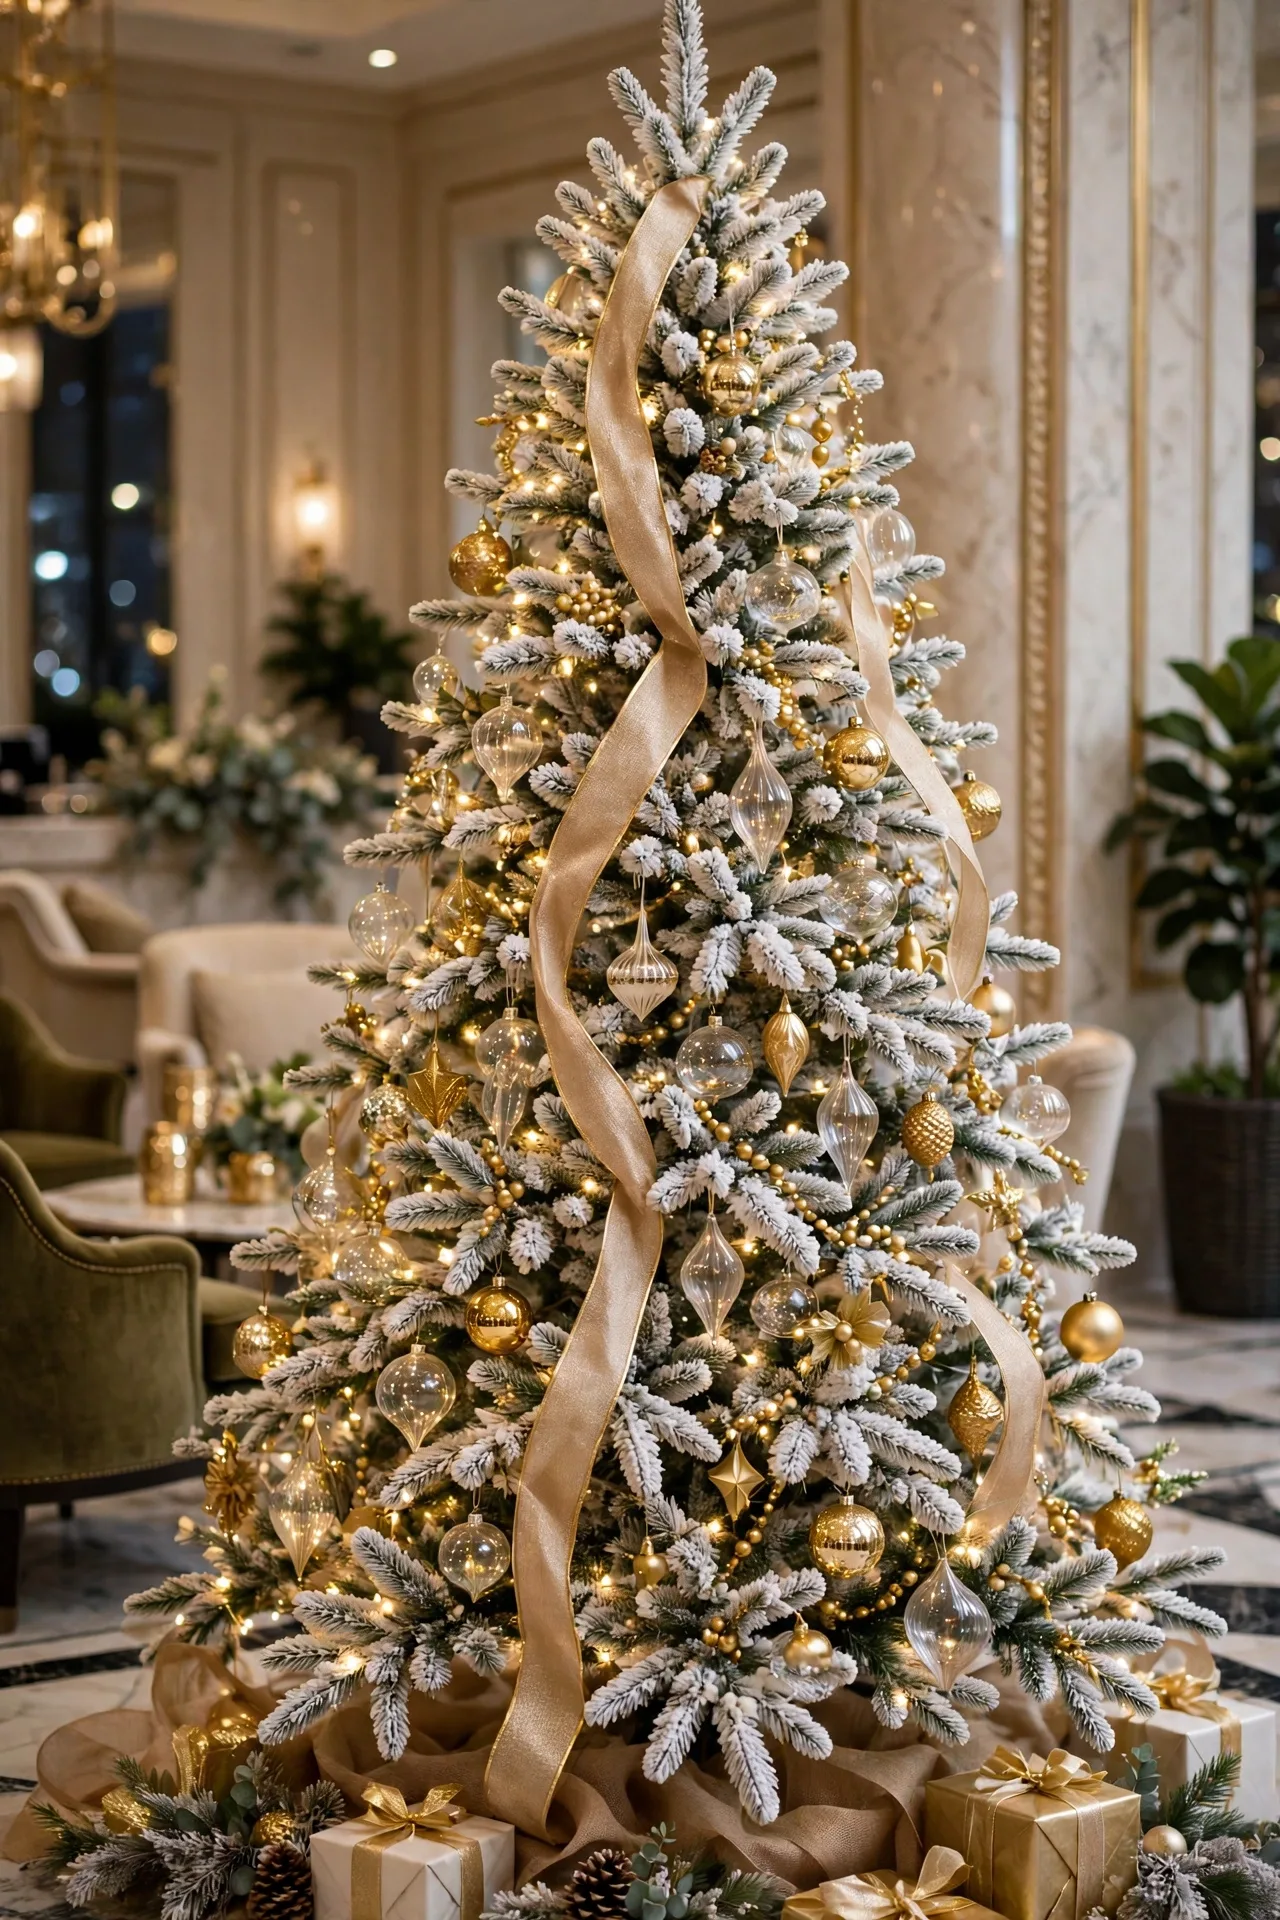
If your tree leans glam, metallic ribbon is non-negotiable. A wired gold or champagne ribbon, worked in long vertical cascades, turns a white or flocked tree into the kind of display you see in hotel lobbies. The trick with metallic ribbon is restraint: let it be the star and keep the ornaments quiet, using clear glass, gold, and white pieces in similar finishes so nothing competes with the shine. Metallic ribbon kinks more easily than velvet, so shape it gently and avoid re-bending the same spot twice. Under warm white tree lights, a gold cascade genuinely glows.
12. Ribbon Tails Tied to Ornament Clusters
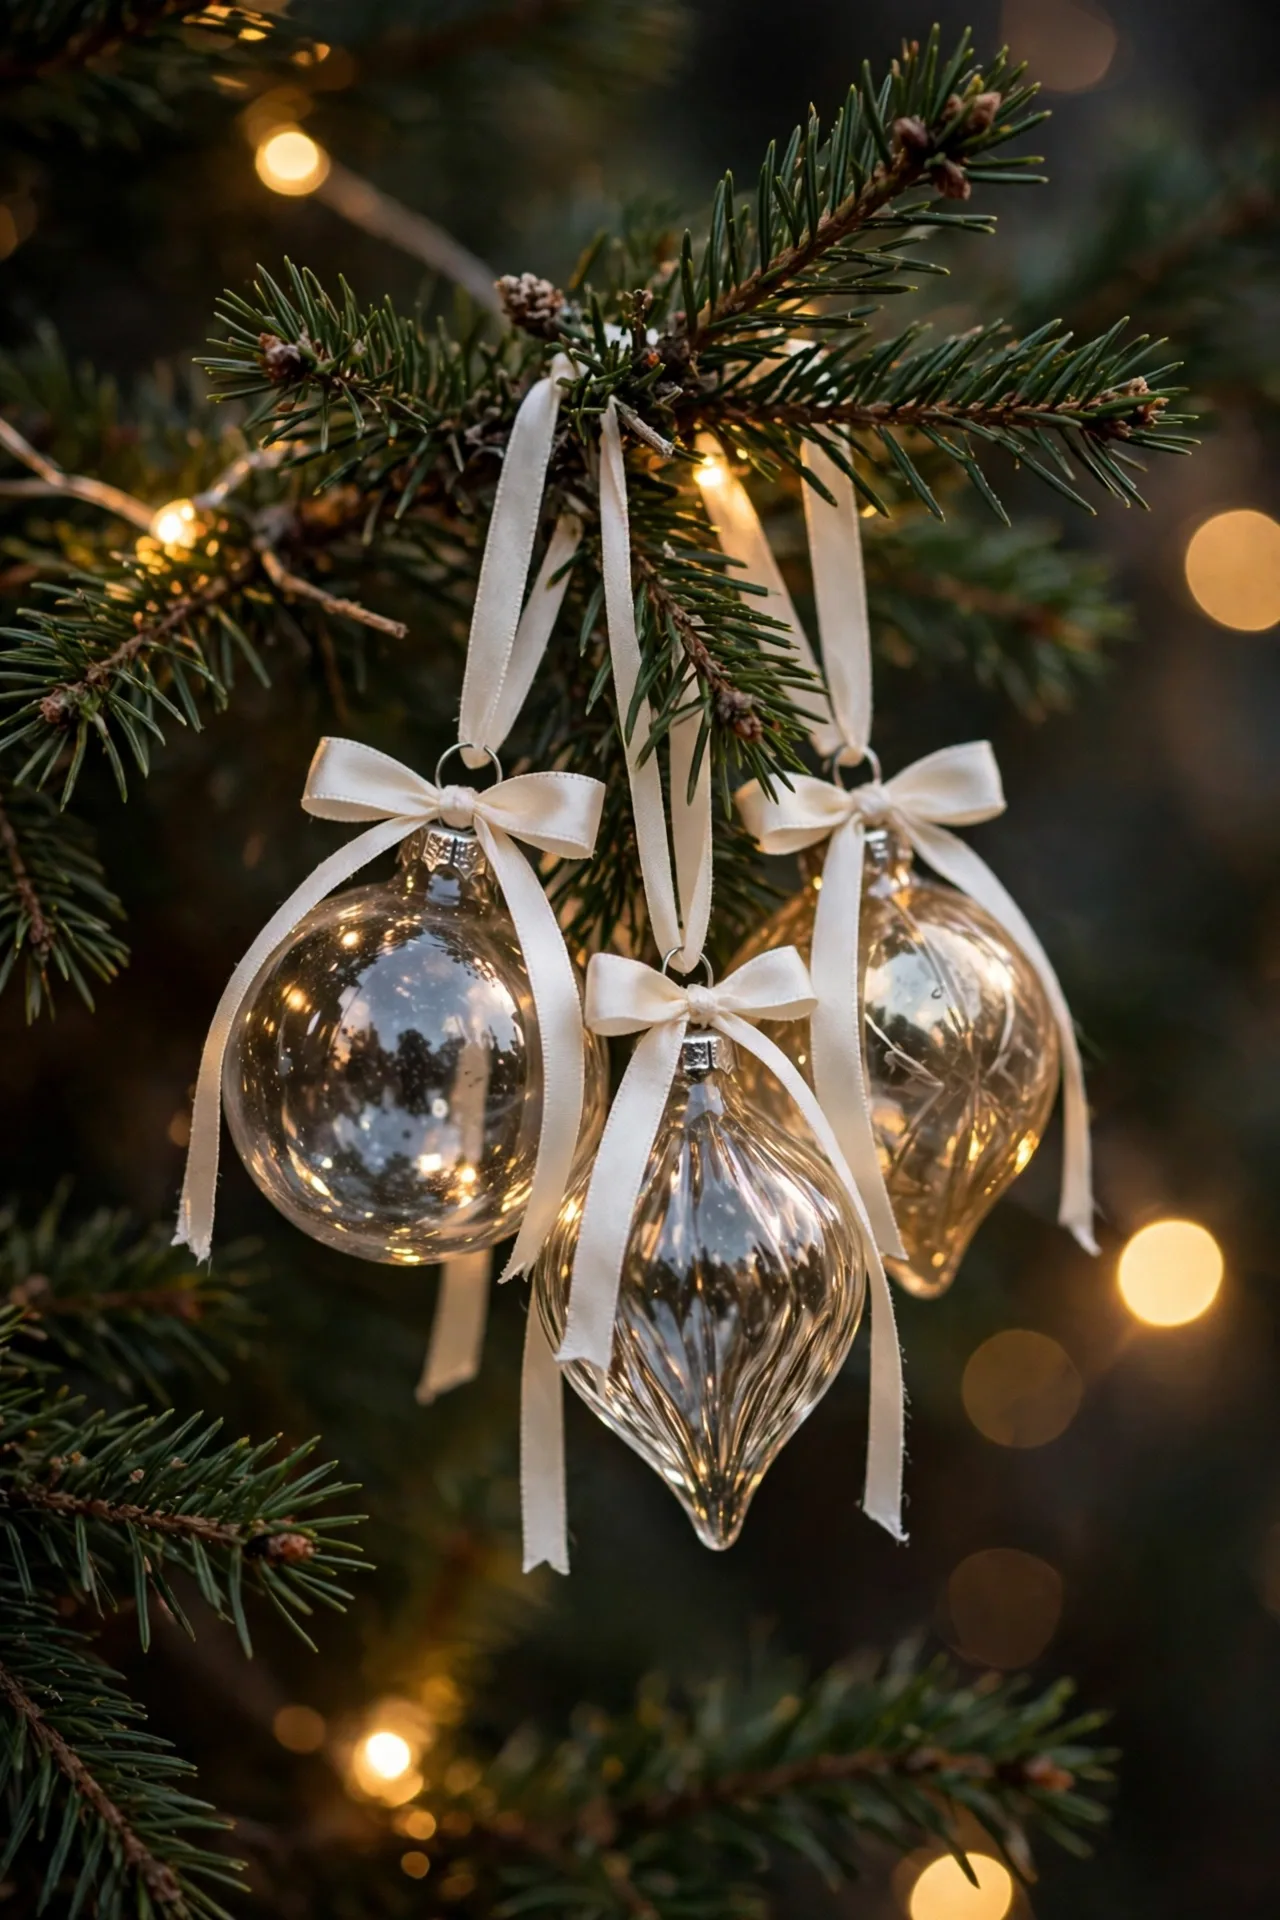
Here is a subtler approach that decorators love: instead of running ribbon across the whole tree, tie short ribbon tails directly onto your ornament groupings. Cut 8 to 10 inch pieces of 1.5-inch silk or satin ribbon, gather three ornaments on one hanger, and tie the ribbon at the gathering point so the tails fall around the ornaments like a bow. The effect is scattered moments of ribbon throughout the tree rather than one continuous ribbon statement, which suits eclectic trees where no single theme dominates. This technique uses very little ribbon, making it the thriftiest entry point into tree ribbon styling.
13. Tone-on-Tone Ombre Layers
The ombre technique uses three shades of the same color, deep, medium, and light, worked down the tree as separate layers. Start with the darkest ribbon near the top, transition to the medium shade in the middle section, and finish with the lightest at the base, overlapping the strips slightly where the shades meet so the gradient blends. This creates a color-washed effect that looks incredibly intentional and high-end, especially in blush pinks, icy blues, or emerald greens. Because the color does the heavy lifting, you can keep the ornaments minimal and let the ribbon gradient carry the whole design.
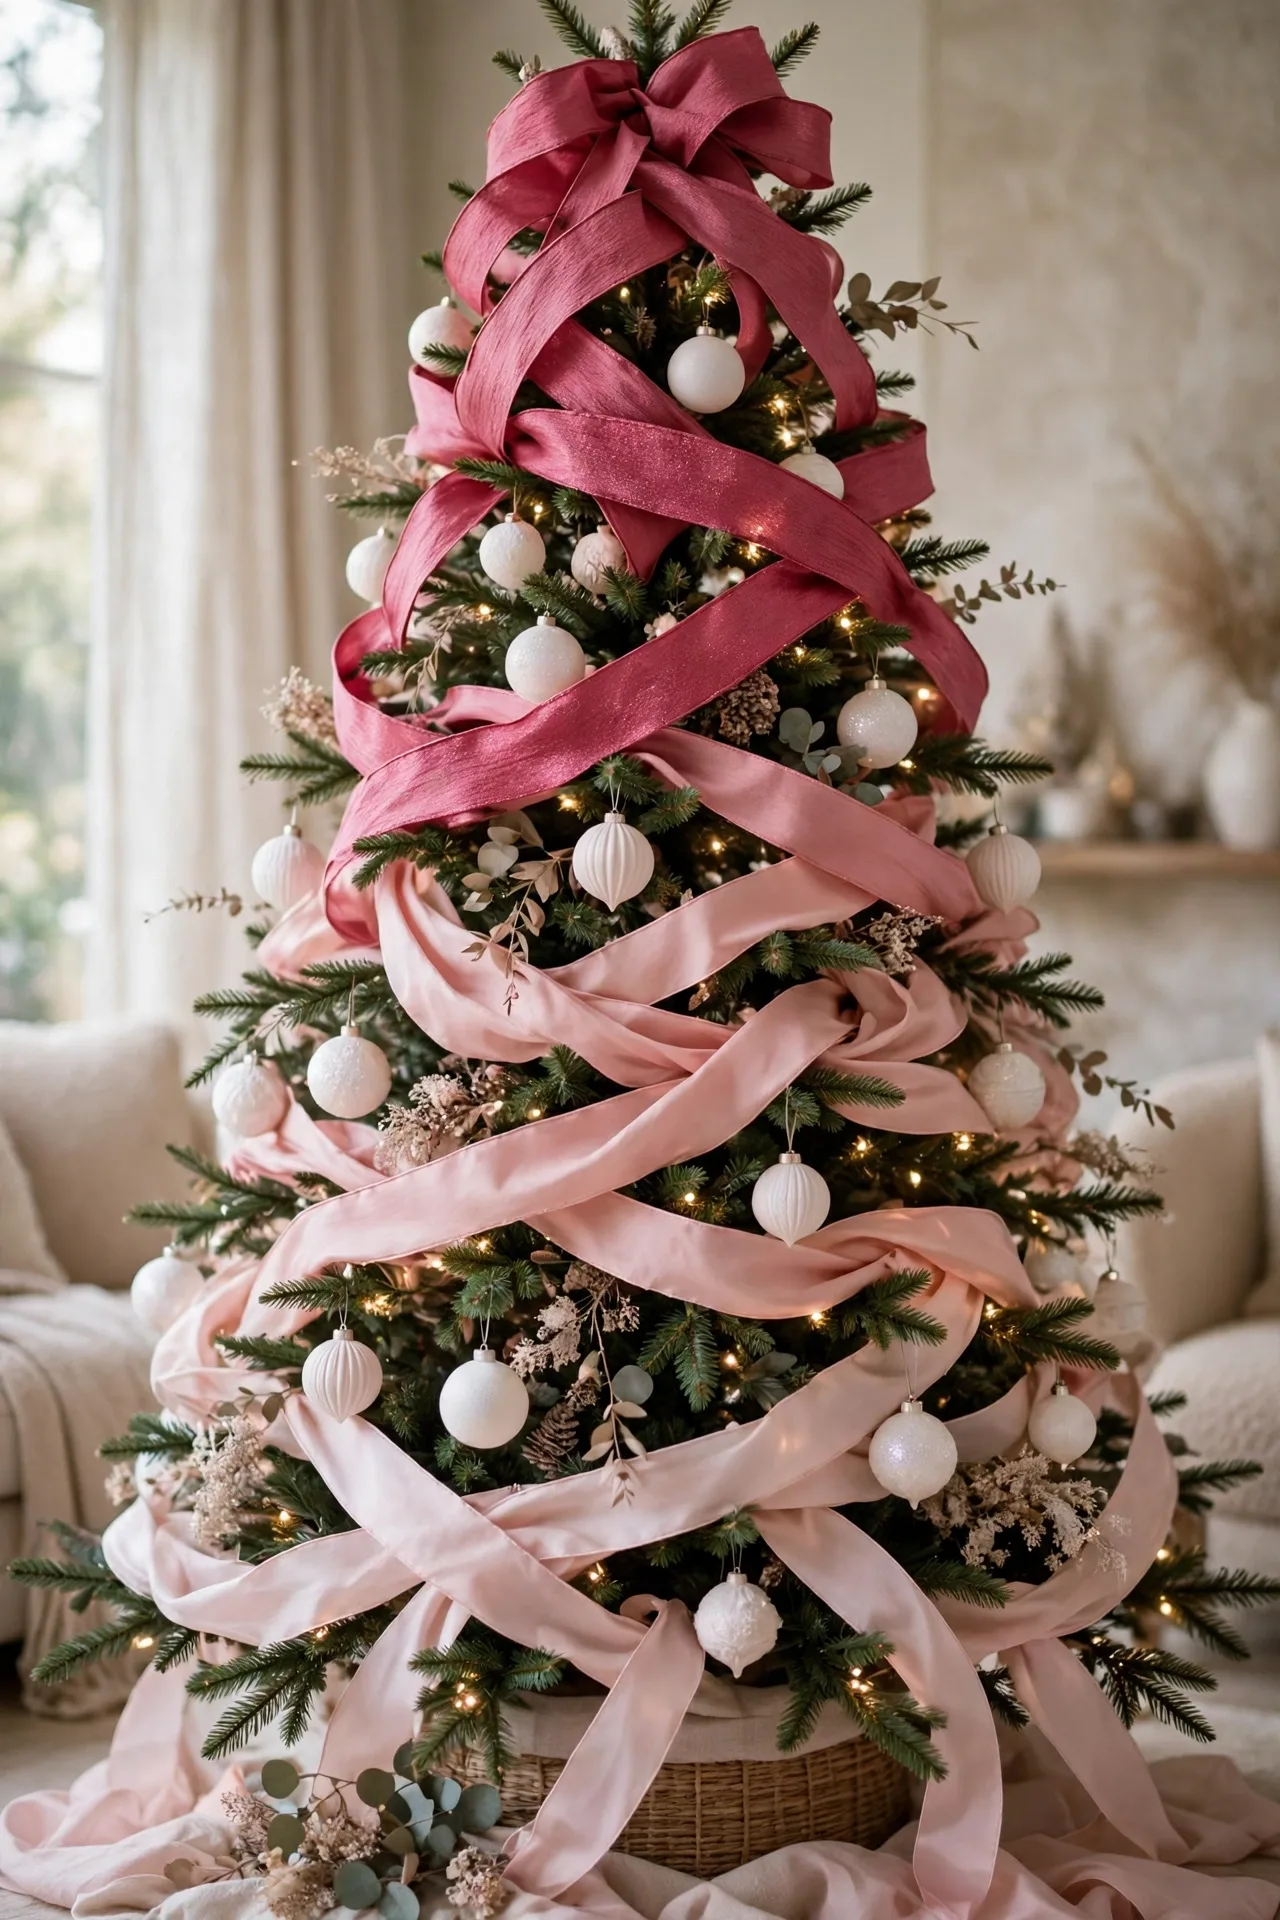
14. Ribbon Tucked Deep Inside the Branches
This professional trick separates styled trees from decorated ones. After your lights are on but before the ornaments go up, tuck strips of ribbon deep inside the branches, close to the trunk, so the ribbon peeks out from behind the foliage rather than sitting on top of it. The ribbon catches the interior glow of the lights, adds depth and dimension that surface decoration cannot reach, and makes the tree look fuller from across the room. Use a contrasting color to what sits on the surface, like gold tucked inside a red-ribbon tree, so the interior layer reads as a separate, deliberate design choice.

Frequently Asked Questions
Quick answers to the questions readers ask most about these christmas tree ribbon ideas.
How much ribbon do I need for a Christmas tree?
For a 9 to 10 foot tree, Balsam Hill recommends at least 27 yards of ribbon, and you can scale down from there for smaller trees. Cascades and waterfall styles use the most ribbon because the billows eat up yardage, while spiral weaves and ornament-cluster tails use the least. If you are layering two ribbons, buy full amounts of both rather than splitting one spool between them. When in doubt, buy one extra spool, because running out mid-tree always shows.
Should ribbon go on the tree before or after ornaments?
Ribbon goes on after the lights and before the ornaments. The lights form the base layer, the ribbon builds the structure and flow, and the ornaments sit on top of and around the ribbon, which is what makes the whole tree look integrated. If you hang ornaments first and add ribbon last, the ribbon sits awkwardly on top of everything and reads as an afterthought instead of part of the design.
Should I use wired or non-wired ribbon on a Christmas tree?
Use wired ribbon for anything you need to shape: cascades, billows, bows, and toppers. The wire edge is what holds those full shapes all season. Non-wired ribbon still has a place, though: it ties beautifully for ornament-cluster bows and gift-wrap style accents where you want a soft drape rather than structure. For one tree, one spool of wide wired ribbon covers nearly every technique in this guide.
How do I keep the ribbon from looking flat and limp?
Flat-looking ribbon almost always comes down to three mistakes: using non-wired ribbon, working from one long roll instead of short strips, or never shaping the billows. Fix all three by choosing wired ribbon, cutting it into 18 to 24 inch strips, and giving each strip a twist as you tuck it in. After every section, step back and fluff the billows with your fingers, bending the wire edges slightly so each loop catches the light. A ribbon that looks flat in place usually just needs one more twist and tuck.
Can I reuse Christmas tree ribbon next year?
Yes, and wired ribbon is made for it. After the season, remove the strips gently and wrap each one around a cardboard tube so the wire edges do not kink. Stored flat in a cool, dry box, wired velvet and silk ribbon comes back out looking nearly new for several seasons. One good spool of wired ribbon costs less over five years than a bag of cheap ornaments you replace every year.
Make It Yours
The beautiful thing about ribbon is that it is the most forgiving decoration on the tree. Try a cascade, step back, and if it is not you, redo it in a different style before dinner. Start with whichever of these 14 ideas caught your eye first, keep the ribbon wired, and save your favorites to your Christmas board on Pinterest. We would love to see how your tree turns out.